Introduction
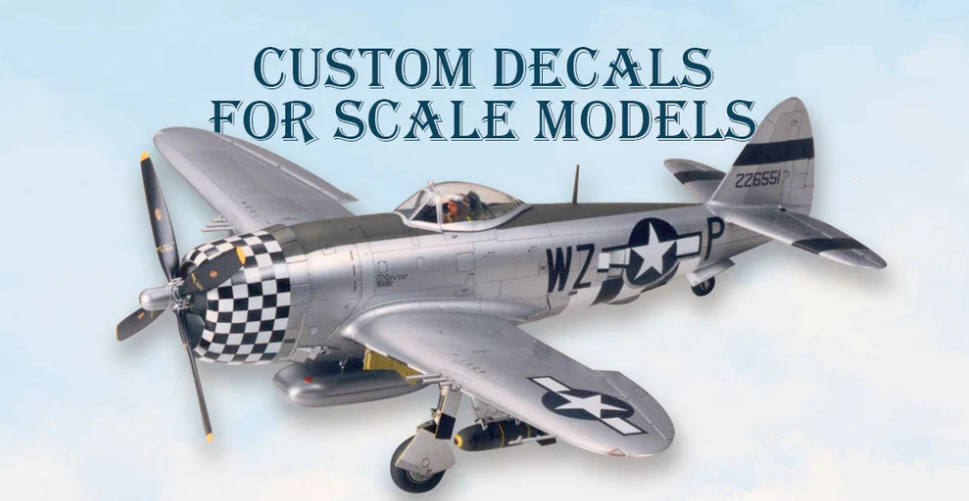
Designing and printing your own custom decals is one of the most rewarding parts of scale modeling. Whether you want to recreate a specific logo, add personal markings, or design something completely new, custom decals let you make your model truly unique.
In this post, we’ll share 10 easy tips to help you design, prepare, and print your own decals — with professional results every time.
1. Choose the Right Design Software
- Start with simple, easy-to-use software like Adobe Illustrator, CorelDRAW, or Inkscape.
- For basic designs, even free tools like Canva or GIMP can work well.
- Make sure your designs are vector-based if possible — they scale better without losing quality.
2. Work in the Correct Scale
- Always design your decals in the same scale as your model (1:24, 1:48, 1:72, etc.).
- Measure the exact area on your model where the decal will go.
- A small scale mistake can cause big fitting problems later.
3. Use High-Resolution Images
- If you’re using logos or graphics, make sure they’re at least 300 DPI for crisp printing.
- Avoid blurry or low-quality images, as they won’t print well on decal paper.
4. Pick the Right Colors
- Remember that screen colors (RGB) look different from print colors (CMYK).
- Use test prints to check brightness and contrast before final printing.
- At ModelMate Decals, we use accurate color-matching systems to ensure perfect results.
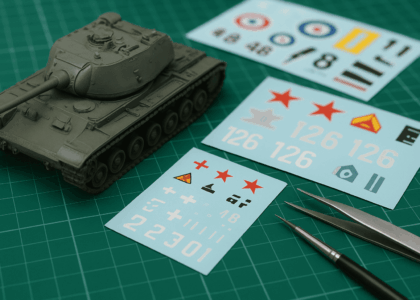
5. Select the Right Decal Paper
- Use waterslide decal paper that matches your printer type — either inkjet or laser.
- Choose between clear paper (for light-colored surfaces) or white paper (for dark models).
- Always store your paper flat and dry to prevent warping.
6. Print a Test Sheet First
- Before printing your final decals, do a test print on plain paper.
- Check size, alignment, and color accuracy.
- It’s easier to fix mistakes at this stage than after printing on decal paper.
7. Let the Ink Dry Completely
- After printing, let the sheet dry for at least 1 hour.
- Then, spray a clear coat or decal sealer to protect the ink from water when applying.
- Don’t skip this step — it prevents the design from smudging or dissolving.
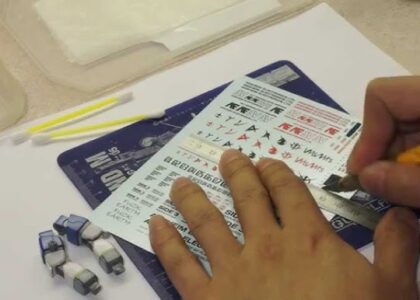
8. Cut Carefully
- Use a sharp hobby knife or fine scissors to cut around each design.
- Cutting close to the edge makes the decal blend smoothly on the model surface.
9. Apply with Patience
- Follow standard decal application steps: soak, slide, and position.
- Use setting solutions to help decals stick to curves and details.
- Let them dry completely before sealing.
10. Seal and Protect Your Work
- Once applied, always finish with a clear protective coat — gloss, satin, or matte depending on your model finish.
- This locks the decal in place and protects it from scratches and moisture.
When to Use Professional Printing
If you need large batches, custom colors, or complex designs, it’s best to use a professional decal printing service like ModelMate Decals.
We offer:
- Custom decal design
- On-demand printing (no minimum quantity)
- Bulk printing for brands and clubs
- Accurate color reproduction and premium materials
Conclusion
Designing and printing your own decals can be fun and creative, but quality depends on careful planning.
Follow these ten tips, and your models will stand out with professional-level details.
And when you need perfect results without the hassle, ModelMate Decals is always ready to print your ideas with precision and care.