Introduction
Applying decals is one of the most enjoyable steps in building a scale model. It’s the moment your project truly comes to life with markings, numbers, and realistic details.
If you’re new to scale modeling or using decals, this guide will show you how to apply waterslide decals step by step — cleanly, easily, and like a pro.
What Are Waterslide Decals?
Waterslide decals are thin printed designs on special paper that slide off the backing when soaked in water.
They’re popular because they provide:
- Smooth, painted-on appearance
- High detail with sharp colors
- Easy application with minimal tools
- A realistic finish on any type of model
What You’ll Need
Before you begin, prepare a few basic tools:
- Small bowl of warm water
- Tweezers or a soft brush
- Paper towel or cotton swab
- Decal setting solution (optional but helps adhesion)
- Clear coat or varnish (for protection after application)
Step-by-Step: How to Apply Waterslide Decals
Step 1: Prepare the Surface
- Make sure the surface of your model is smooth and clean.
- Apply a gloss coat before placing decals; this helps prevent air bubbles and silvering.
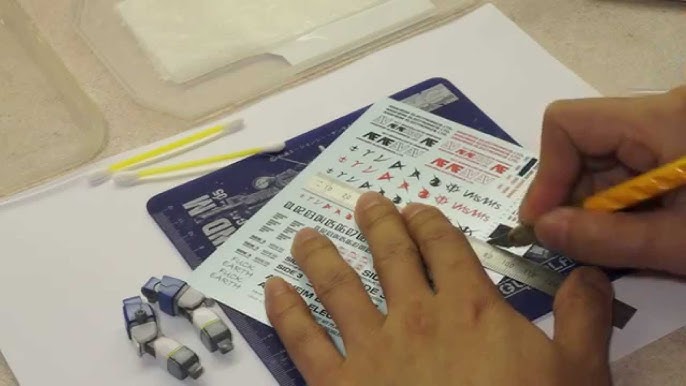
Step 2: Cut the Decal
- Cut out each decal carefully using a sharp hobby knife or scissors.
- Trim close to the edges to reduce visible film after application.
Step 3: Soak the Decal
- Dip the decal in warm water for 5–10 seconds.
- Place it on a clean surface and let it sit for about 30 seconds until it starts to loosen.
Step 4: Position the Decal
- Use tweezers or a brush to slide the decal gently from the paper onto your model.
- Move it into place carefully while it’s still wet.
Step 5: Remove Water & Air Bubbles
- Press gently with a paper towel or cotton swab to remove extra water.
- Avoid pressing too hard — just enough to smooth it down.
- If needed, apply decal setting solution to help it conform to curved surfaces.
Step 6: Let It Dry
- Allow the decal to dry completely for at least a few hours before touching it.
Step 7: Seal the Decal
- Apply a clear gloss or matte coat to protect your decal and make it blend with the paint surface.
- This step gives your model a professional, finished look.
Pro Tips for Perfect Decals
- Always handle decals with clean hands.
- Don’t rush; patience gives the best results.
- Use warm (not hot) water to avoid damaging the decal.
- Test a small decal first before applying larger ones.
- If bubbles appear after drying, gently poke them with a pin and reapply a bit of setting solution.
Common Mistakes to Avoid
- Applying decals on rough or matte surfaces.
- Using too much water or solution.
- Touching or moving decals before they’re fully dry.
- Forgetting to seal the decals after application.
Conclusion
Applying waterslide decals might seem tricky at first, but with the right technique, it becomes easy and rewarding.
Follow these steps, take your time, and soon your models will look like professional showpieces.
And if you ever need custom or on-demand printed decals, ModelMate Decals is here to help bring your ideas to life.