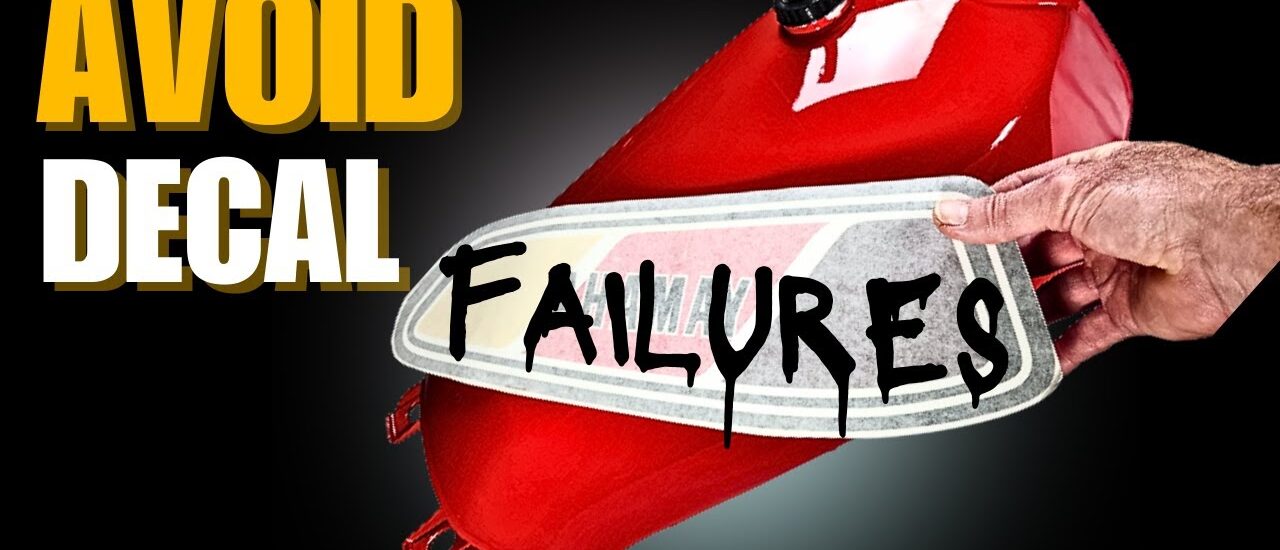
Introduction
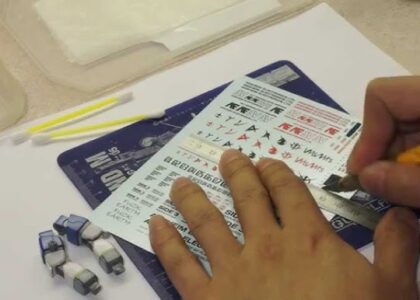
Applying decals is one of the most satisfying parts of building a scale model, but even experienced modelers can make small mistakes that affect the final look.
From air bubbles to silvering or misaligned designs, these issues can easily be avoided with the right techniques.
Here’s a complete guide on the most common decal mistakes and how to prevent them for a smooth, professional finish.
1. Applying Decals on a Rough Surface
The mistake:
Putting decals on a matte or rough surface causes air to get trapped underneath. This results in silvering — small white spots under the decal film.
How to avoid it:
- Always apply decals on a smooth, glossy surface.
- Use a clear gloss coat before applying decals.
- After the decals dry, seal them again with a clear matte or gloss coat depending on your desired finish.
2. Rushing the Application
The mistake:
Many modelers try to move or adjust decals too soon, causing tearing or stretching.
How to avoid it:
- Let decals soak long enough (around 30 seconds) before sliding them off.
- Be gentle and use soft tools like a brush or cotton swab to move them.
- Give them enough time to dry completely before touching or sealing.
3. Not Using Decal Solutions
The mistake:
Skipping decal setting solutions can make decals look stiff and unnatural, especially over curved or detailed surfaces.
How to avoid it:
- Use a decal softener (like Micro Sol or equivalent) to help the decal conform to the surface.
- Apply the solution after positioning the decal, and don’t touch it while drying.
- This helps decals blend seamlessly into panel lines and details.
4. Using the Wrong Water Temperature
The mistake:
Using hot or very cold water can damage decals or stop them from releasing properly.
How to avoid it:
- Always use lukewarm water for soaking decals.
- Test one small decal first to check how it behaves before applying the main ones.
5. Not Sealing the Decals
The mistake:
Some builders forget to apply a final protective layer, leaving decals exposed to scratches, fingerprints, or moisture.
How to avoid it:
- After your decals are completely dry, apply a clear coat to protect them.
- Choose gloss, satin, or matte finish based on your model’s look.
- Sealing also helps the decals look painted-on and last longer.
6. Overhandling the Decals
The mistake:
Touching decals too much with fingers can cause oil stains, tears, or loss of adhesive.
How to avoid it:
- Use tweezers or a soft brush instead of fingers.
- Handle decals gently, especially thin or small ones.
7. Not Preparing the Model Properly
The mistake:
Dust, paint residue, or fingerprints on the model surface can stop decals from sticking correctly.
How to avoid it:
- Wipe your model with a clean, soft cloth before applying decals.
- Avoid touching the surface after cleaning.
8. Ignoring Drying Time
The mistake:
Applying varnish or handling decals before they are dry can ruin the finish.
How to avoid it:
- Allow decals to dry for at least 12–24 hours before sealing.
- Patience pays off — this step ensures a clean, flawless result.
9. Using Poor-Quality Decals
The mistake:
Cheap or old decals may crack, tear, or lose adhesion.
How to avoid it:
- Always buy from trusted decal makers like ModelMate Decals.
- Store unused decals in a cool, dry place to prevent damage.
10. Forgetting to Plan Layout
The mistake:
Placing decals without checking spacing or alignment can lead to uneven results.
How to avoid it:
- Study your decal guide before starting.
- Use light pencil marks or guides for placement.
- Step back and double-check alignment before final positioning.
Conclusion
Small decal mistakes can make a big difference in how your finished model looks — but with a little patience and preparation, you can avoid every one of them.
By following these simple tips, your decals will look smooth, realistic, and perfectly applied.
And when you’re ready for custom, high-quality decals, ModelMate Decals is here to print your ideas with precision.